


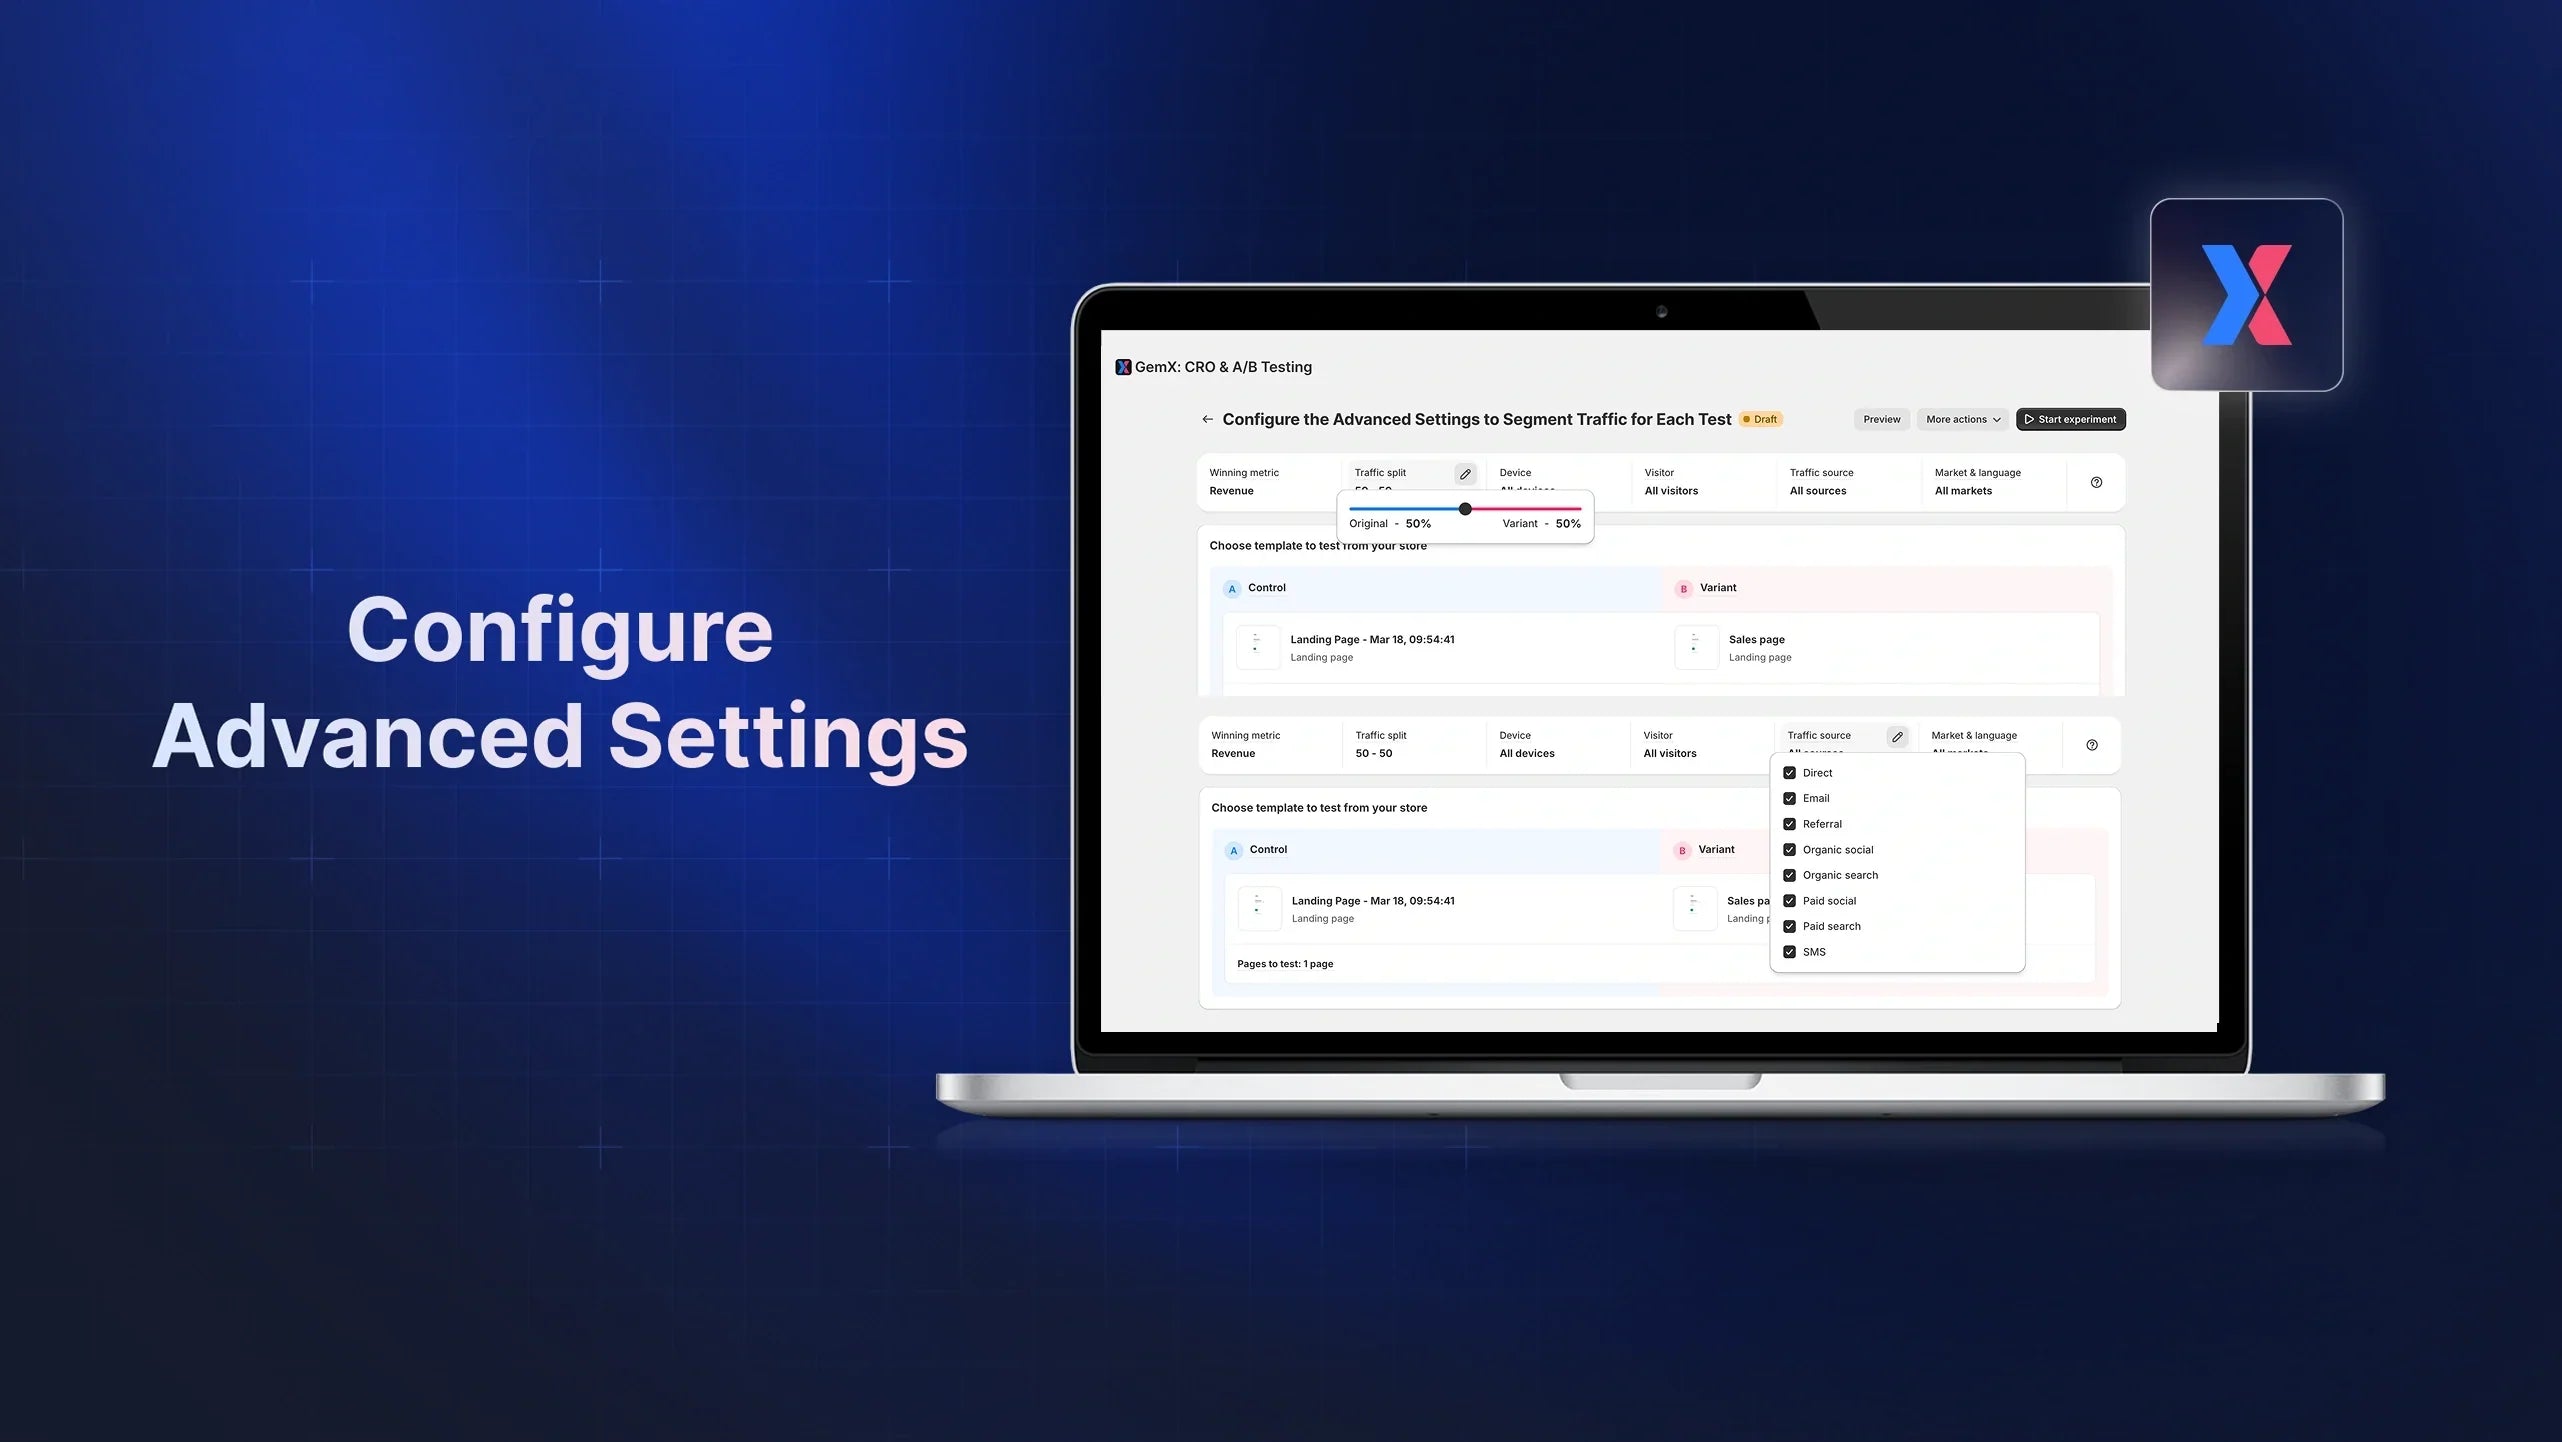
Advanced Settings in GemX let you fine-tune how your experiment runs by controlling your target audience, traffic allocation, and the metric used to determine a winner.
These options help you run cleaner, more accurate A/B tests that align with your specific goals, whether you’re testing mobile visitors, new users, paid traffic, or different markets.
Before getting started, make sure you have installed GemX: CRO & A/B Testing. If not, please follow this guide: How to Install GemX and Activate It on Your Shopify.

What You Can Configure with GemX Advanced Settings
Advanced Settings are a set of optional configuration controls that allow you to define who sees your experiment, how traffic is split between variants, and what metric determines the winner.

These settings give you more precision when testing, helping you:
-
Run experiments for specific devices or visitor types
-
Measure results based on your primary business goal
-
Focus tests on certain traffic sources or markets
-
Control how quickly each variant receives traffic
You don’t need to use every option in every test. Advanced Settings are most useful when you have a clear hypothesis targeting a specific audience or user behavior, or running a design change exclusively for paid traffic campaigns.
Important notes: The Advanced Settings can only be changed before the experiment goes live. To update these settings after launch, you’ll need to pause the experiment, make your changes, and then resume.
How to Access the Advanced Settings
Advanced Settings are configured in the final step before launching your experiment. You can access them from the Experiment panel inside GemX.
From a New Experiment

-
Go to GemX Dashboard > Experiments.
-
Click Create new experiment.
-
Select your experiment type (Template Experiment or Multipage Experiment)

Learn more: Template Testing vs. Multipage Testing: When to Use Each in GemX
-
After choosing the Control and Variant templates, locate the Advanced Settings section for further configurations.
From a Draft Experiment

-
Go to GemX Dashboard > Experiments.
-
Click on your draft experiment to open its settings.
-
Locate the Advanced Settings section to review or update your configuration before launching the test.
How to Configure the Advanced Settings
The Advanced Settings panel includes six configuration options that help you control how your experiment runs and who sees each variant. Below is a full breakdown of each option and when to use it.
1. Winning Metric
The winning metric determines how GemX decides which variant performs better. You can choose only one of the following metrics:
-
Conversion
-
Revenue

How it works
GemX tracks both Conversion and Revenue throughout your experiment, but only the metric you select is used to calculate statistical confidence and determine the winning variant.
When to use it
Choose Conversion when your experiment focuses on user actions or reducing friction, such as:
-
CTA changes
-
Page layout adjustments
-
Product detail improvements
-
Trust element placement
-
Messaging or visual hierarchy tests
Choose Revenue when you're testing changes that may influence how much customers spend, including:
-
Pricing or offer changes
-
Bundle or upsell variations
-
Value perception updates
-
Experiments designed to lift AOV
Learn more: Understanding Key Metrics and Session Views in GemX
2. Device Type
This setting allows you to show your experiment only to visitors on specific device types.
How it works
You can select one or more devices:
-
All devices (default)
-
Desktop
-
Tablet
-
Mobile

GemX only serves your experiment to users on the selected devices.
When to use it
-
Testing mobile-specific improvements
-
Running layout changes that only apply to larger screens
-
Investigating device-based drop-off issues
3. Visitor Type
This setting allows you to target new visitors, returning visitors, or both.

How it works
GemX classifies visitors based on their browsing history and serves variants accordingly.
Options include:
-
All Visitors (default)
-
New Visitors
-
Returning Visitors
When to use it
-
New Visitors: test clarity of messaging, hero sections, or first-impression elements
-
Returning Visitors: test loyalty messaging, upsell blockers, or repeat user flows
4. Traffic Source
Traffic source targeting allows you to run experiments only for visitors coming from specific channels.
How it works
You can select from predefined sources:
-
All Sources (default)
-
Referral
-
Organic Social
-
Organic Search
-
Email
-
Paid Social
-
Paid Search
-
SMS

GemX will only include visitors from the selected traffic sources in the experiment.
When to use it
-
Testing landing page variations for paid campaigns
-
Testing messaging differences between email vs. social traffic
-
Improving performance for organic search visitors
Important note: Traffic source options are currently fixed and cannot be customized.
5. Traffic Split
Traffic split defines the percentage of visitors who see each variant.
How it works
You assign a percentage to the Control and Variant. Common setups include:
-
50/50: Balanced testing for faster learning
-
70/30 or 80/20: Risk-controlled testing for major changes
-
90/10: Soft-launching a bold or high-impact variant

GemX randomly distributes visitors based on your selected percentages.
When to use it
-
Balanced tests when exploring ideas
-
Conservative traffic distribution for high-risk experiments or redesigns
-
Accelerated exposure when confident in a variant
Pro Tip: Changes to targeting or traffic might impact how quickly your experiment reaches significance.
6. Market & Language
Market and language targeting allow you to run experiments only for visitors from specific countries or language settings.

How it works
You can select specific markets or languages from your Shopify settings. GemX will serve the experiment only to users matching those criteria.
When to use it
-
Running localized content experiments
-
Testing language translations
-
Testing region-specific promotions or shipping info
-
Avoiding data pollution in international stores
Troubleshooting: Common Issues with Advanced Settings
1. Adjust a setting, but don’t see the update
Advanced Settings can only be applied before the experiment goes live. If your experiment is live, please pause the experiment, adjust the settings, and then resume it.
2. My experiment is not receiving enough traffic
Your targeting may be too narrow. Try expanding:
-
Device type
-
Visitor type
-
Traffic source
-
Market or language
3. The traffic split looks uneven at the start
Early traffic distribution may fluctuate due to randomness. It becomes more stable as the sample size increases.
4. A selected traffic source shows zero data
Your store may not have active visitors from that source. Consider switching to “All Sources”.

5. Market or language targeting is not working as expected
Ensure your Shopify Markets are properly configured and published. GemX relies on Shopify’s settings to identify eligible visitors.
FAQs about GemX Advanced Settings


