


- Why Most Shopify Stores Struggle to Improve Conversion
- What Is A/B Testing on Shopify
- What Should You Test First on Shopify
- Don’t Run A/B Tests If You Don’t Have Enough Traffic
- You Don’t Need a Complex Setup to Start Testing
- What Tool Should You Use for Shopify A/B Testing
- A Simple A/B Testing Workflow for Shopify
- Conclusion
- FAQs about A/B Testing on Shopify
Your Shopify store is getting traffic, but not enough sales. So you change your banner, rewrite your product descriptions, or even try a new layout.
However, nothing really moves. At some point, it starts to feel like you’re just guessing and hoping something works.
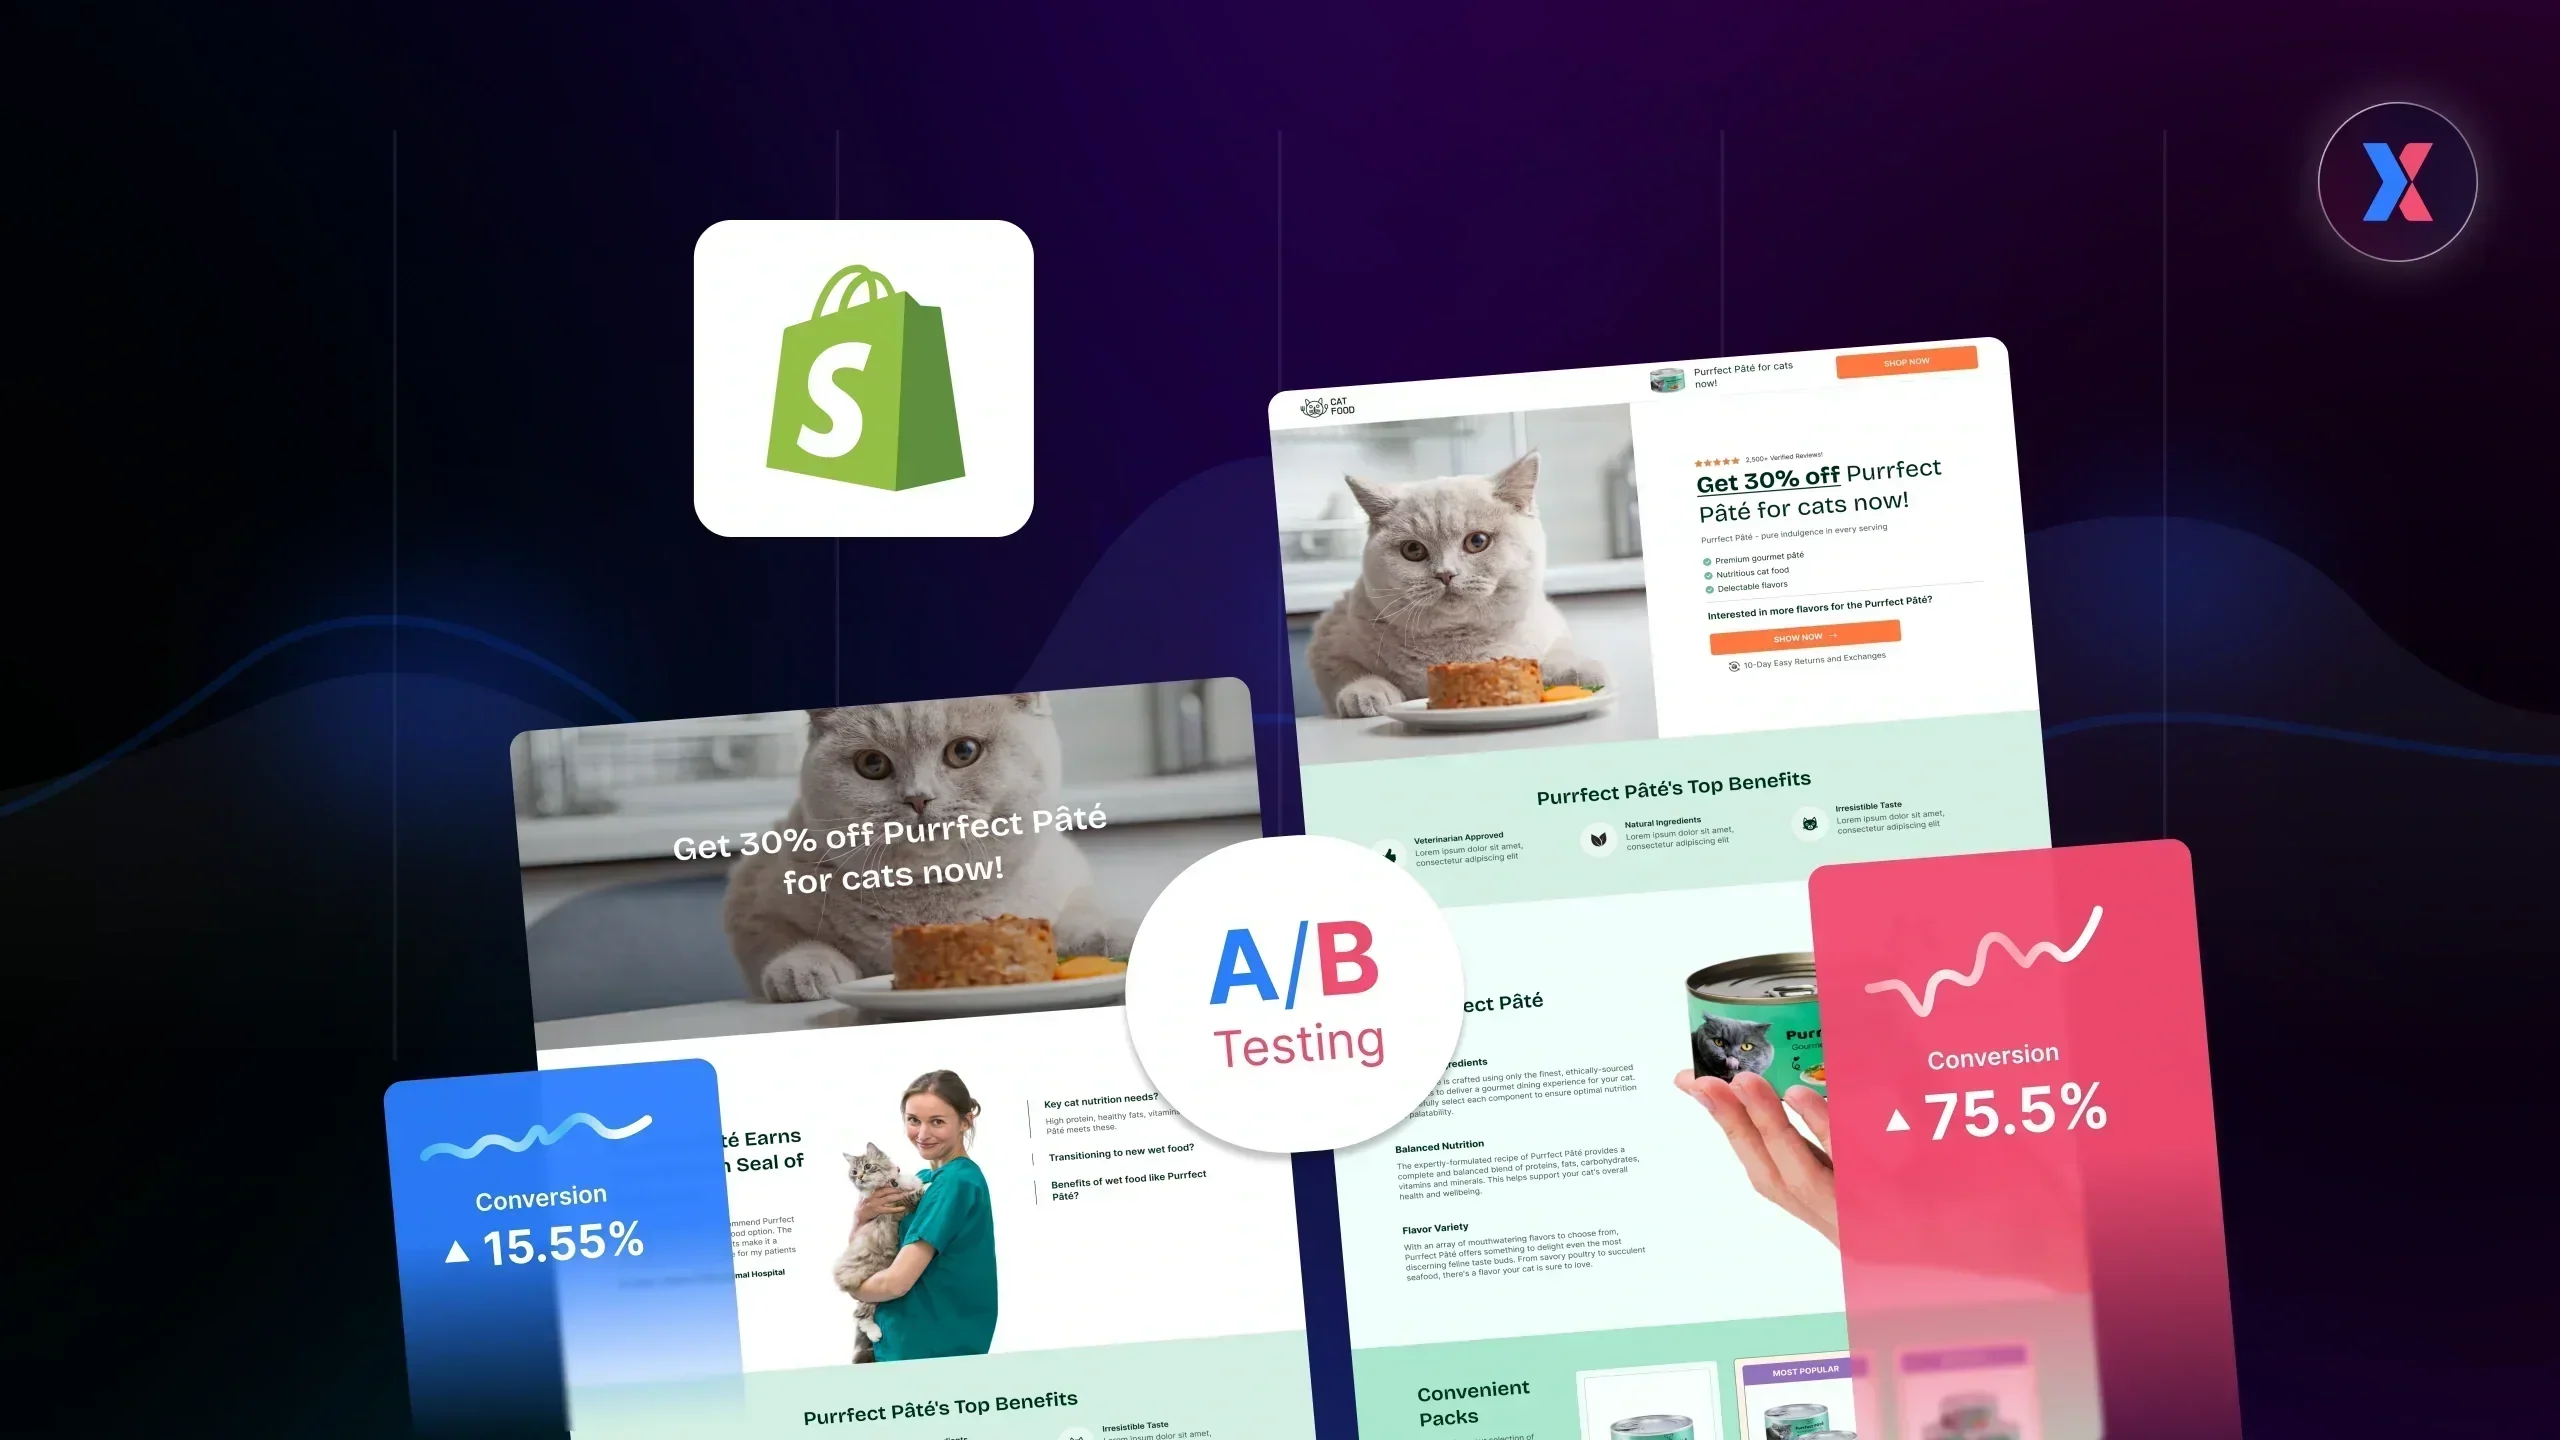
This is where A/B testing helps. Instead of guessing, you compare two versions and see which one actually gets more add-to-carts, checkouts, or sales.
In this guide, you’ll learn how A/B testing works on Shopify, what you should test first, and how to start improving store revenue with simple tests.

Why Most Shopify Stores Struggle to Improve Conversion
If your store is not converting as expected, the issue doesn’t come from traffic or a lack of ideas. It’s how those ideas are tested.
Most Shopify store owners make changes based on assumptions, not real customer behavior.
Here are the 3 biggest mistakes most Shopify stores make:
1. Changing things without knowing the real problem
Many stores jump straight into redesigning pages, but they don’t know where customers are dropping off in the buying journey. So they fix the wrong thing.
2. Testing small things that don’t matter
You have changed colors, fonts, or spacing might feel productive, but these rarely increase sales.
What actually matters:
-
Product images
-
Pricing
-
Offers
-
Call-to-action buttons
If you’re not testing these, the results stay flat.
3. Deciding too early without enough data
Sometimes a change looks like a “win” after a few days, but actually, it’s just random. Without enough visitors, you can’t trust the result. And that leads to wrong decisions.
Key takeaway: The real issue behind all of this: You’re making decisions based on guesses, not customer behavior.
What Is A/B Testing on Shopify
A/B testing is very simple: you create 2 versions of something and see which one performs better.
That’s it.

For example, you test two versions of the CTA copy:
-
Version A: “Buy Now”
-
Version B: “Get Yours Today”
You publish both: half of your visitors see Version A, and the other half see Version B. Then you track, “Which version gets more people to buy?”. Instead of guessing what works, you let real customers decide.
When you repeat this process over time:
-
More visitors turn into buyers
-
More people complete their purchase
-
More revenue comes from the same traffic
Learn more: Shopify A/B Testing: The Expert’s Guide for Conversion Optimization
What Should You Test First on Shopify
One of the biggest mistakes beginners make is testing random things and hoping something works. But not all changes bring results. If you want to see real impact, focus on what directly affects buying decisions.
Let's start with these 4 areas:
1. Call-to-Action (CTA) Buttons
Your CTA is the final step before a user takes action, therefore, even small changes can have a noticeable impact.
What to test:
-
Button text (e.g. “Buy Now” vs “Get Yours Today”)
-
Placement (above the fold vs below product details)

A/B test the CTA Button color and contrast
Why it matters: This directly affects how many people click and move closer to buying.
Impacts: click-through rate (CTR), add-to-cart rate, conversion rate
2. Product Images & Visuals
Customers can’t touch your product, so your visuals do the selling.
What to test:
-
Lifestyle vs studio images
-
Image order in gallery
-
Video vs static images
Why it matters: Better visuals help people understand the product faster and feel more confident to buy.
Impact: engagement, time on page, conversion rate
3. Headlines & Value Proposition
If your headline doesn’t clearly communicate value, users won’t stay long enough to explore.
What to test:
-
Benefit-driven vs feature-driven headlines
-
Emotional vs descriptive messaging
-
Short vs long copy
Why it matters: This decides whether visitors stay or bounce in the first few seconds.
Impacts: bounce rate, engagement, conversion rate
Learn more: GemX Use Case Series: A/B Test Multiple Headlines
4. Pricing & Offers
How you present your pricing can directly affect how users perceive value.
What to test:
-
Discount formats (percentage vs fixed amount)
-
Bundles vs single product offers
-
Free shipping messaging

An example of discount format testing: percentage vs. fixed amount
Why it matters: This affects how many people buy and how much they spend per order.
Impacts: average order value (AOV), conversion rate
Key takeaway: Simple rule to remember:
✘ Don’t test what looks better
✔ Test what makes people buy
Start Where People Drop Off
If you’re not sure what to test first, don’t guess. Look at where people leave.
A simple buying journey usually looks like this:
|
Landing page → Product page → Cart → Checkout |
At each step, some visitors drop off, and your job is to find the biggest drop.
For examples:
-
Many visitors but few add to cart → Fix product page
-
Many add to cart but don’t check out → Fix pricing or trust
-
High bounce rate → Fix headline and first screen
Don’t Run A/B Tests If You Don’t Have Enough Traffic
A/B testing needs data to work.
If your store doesn’t have enough visitors, the results will be unreliable. You might think Version B is better, but it’s just random.
If your pages have very low traffic or your new stores have few daily visitors, you should not run any tests.
In these cases, instead of testing, you can focus on:
-
Getting consistent traffic
-
Understanding user behavior
-
Watching session recordings or feedback
Once you have steady traffic, testing becomes powerful.
Think of it like this: A/B testing is not magic, and it only works when enough people go through your store.
You Don’t Need a Complex Setup to Start Testing
Most people think A/B testing is technical, but it’s not.
You don’t need developers, custom scripts, or complicated setups to start testing. You need something that:
-
Works directly inside Shopify
-
Doesn’t require coding
-
Lets you create and launch tests quickly
-
Doesn’t break your store
What Tool Should You Use for Shopify A/B Testing
At this point, you already know what to test. The real question is, “How do you actually run A/B tests without slowing yourself down?”
Winning stores don’t manually test. They use tools that handle everything for them.
This is where choosing the right tool matters.
As not every tool is built for the same purpose, here’s a quick breakdown so you don’t waste time:
1. GemX – Best for Fast, No-Code A/B Testing on Shopify
GemX: CRO & A/B Testing is designed specifically for Shopify merchants who want to run experiments without dealing with technical complexity.

With GemX, you can:
-
Create and edit test variations using your existing page builder (like GemPages)
-
Run A/B tests across landing pages, product pages, and even multi-page funnels
-
Automatically split traffic and track results with powerful built-in analytics
-
Launch experiments quickly without adding scripts or relying on developers
What makes it stand out:
-
No need to install scripts or rely on developers
-
Built specifically for Shopify workflows (not adapted from generic tools)
-
Designed for both beginners and scaling brands
Pricing: Start from $49/month, 14-day Free Trial
2. Shoplift – For Simple Page Testing
-
Good for: quick page-level tests
-
Limitation: less flexibility for full customer journey testing
Shoplift is a Shopify-native A/B testing tool focused on speed and simplicity.

Shoplift works if you only want to test single pages. For those who want to optimize the full buying flow, this tool might not be ideal.
3. Intelligems – Pricing & Offer Testing
-
Good for: pricing experiments, discounts, revenue tracking
-
Limitation: less focused on visual page testing
Intelligems is a Shopify-focused experimentation platform with a strong emphasis on pricing and offer optimization.

Intelligems is useful if your main goal is a pricing strategy, but it’s too complicated if you just want to test layouts, content, or UX.
4. Elevate – Basic Testing
-
Good for: simple A/B tests
-
Limitation: fewer advanced features
Elevate is a newer A/B testing app built with simplicity in mind for Shopify users.

Elevate can work for very basic use cases, but this tool can feel limiting as you grow.
So… which one should you choose?
Here’s the simplest way to decide:
|
Your goal |
Best-fit tool |
|
Quick, beginner-friendly page testing |
GemX or Shoplift |
|
Pricing and offer experiments |
Intelligems |
|
Simple testing with fewer advanced needs |
Elevate |
|
Testing both pages and full customer journeys |
GemX |
Pro tip: If your goal is getting more sales without adding complexity, GemX is the fastest way to move forward.
A Simple A/B Testing Workflow for Shopify
Running an A/B test becomes much more straightforward at this stage. Here’s a simple workflow you can follow:
Step 1: Identify a Problem
Start with data, not assumptions.
Look for pages in your funnel where performance drops:
-
High traffic but low conversion
-
Many product views but few add-to-carts
-
High cart abandonment
Your goal is to find one specific problem to solve.
Step 2: Form a Clear Hypothesis
Before you test anything, define what you expect to happen and why.
A simple format you can use: “If we change [element], then [metric] will improve because [reason].”
Example: “If we replace product images with lifestyle photos, the add-to-cart rate will increase because customers can better visualize the product in use.”
Step 3: Create Two Variations
Let’s keep it simple:
-
Version A: your current version (control)
-
Version B: one clear change (variation)

A/B test the CTA text: "Buy Now" vs. “Get Yours Today – Free Shipping”
Important note: Avoid changing multiple elements at once. Otherwise, you won’t know what actually caused the results.
Step 4: Run the Test
Split your traffic between the two versions and let the test run. As good testing requires patience, don’t stop your test too early.

Split your traffic to 50-50 to ensure an unbiased comparison
It’s a must to let enough visitors interact with both versions and avoid running multiple overlapping tests on the same page.
Step 5: Measure and Learn
After the test runs, it’s time to compare the results:
-
Which version performed better?
-
Did it improve your target metric?

Compare the add-to-cart rate between two versions to verify which one performs better.
Even if there’s no clear winner, you still gain insight into what works and what doesn’t.
Keep It Simple, Then Improve Over Time
You don’t need dozens of experiments to see results. All you need to do is start with one clear test, learn from it, and build from there.
Over time, this process becomes a system, where every test helps you understand your customers better and improve your store with confidence.
Conclusion
A/B testing is not about making more changes. It’s about choosing the right ones.
Instead of guessing, you use real data to understand what actually improves your store. Start simple: identify where your funnel drops off, test one meaningful change, and learn from the results.
Over time, these small improvements compound into real growth.
Because in the end, what truly drives results is focusing on the tests that actually matter.
FAQs about A/B Testing on Shopify


